Homemade Gummies
My kids love these homemade gummies! And I love giving them a snack so packed with goodness.
I make these homemade gummies about once a week and I have starting making a triple batch because my kids eat them up like candy. I give them a few a day and love all the nutrients they are getting.

Why Eat Gelatin?
Grass-fed collagen and gelatin are huge in the health benefits arena. According to Wellness Mama,
“there are various health benefits to Gelatin, including:
Supports skin, hair, and nail growth
Good for joints and can help joint recovery
Can help tighten loose skin (like the kind you get after having four babies in five years...)
Can improve digestion since it naturally binds to water and helps food move more easily though the digestive track
Rumored to help improve cellulite
Great source of dietary collagen (side note: collagen is too large to be absorbed by the skin, so those skin creams are pretty useless... get it internally and use coconut oil for lotion!)
Source of protein (though not a spectacular one) but its specific amino acids can help build muscle.”
We eat and drink a lot of bone broth, which is also full of gelatin and collagen. And we put collagen powder into smoothies, other drinks, and soups. The superfood benefits are astounding. You can read more about them from Top 20 Health Benefits of Gelatin, by Grass-Fed Girl, and 5 Reasons Why Nearly Everyone (Even Vegetarians) Should Eat Gelatin, by Chris Kresser.
So, that’s why we try to eat these homemade gummies every day. And just the gelatin makes them super enough, but why not kick it up a notch? You can make these gummies with using the basic recipe, or you can add in other ingredients to make them extra.
Here are some add-ins that I love!
collagen powder
superfood powder
probiotics powder
powdered vitamins
With this basic recipe, you can make your own gummy vitamins, so your kids are getting all their nutritional supplements without all the extra stuff that may be in the store-bought gummies. You can also get your kids a little extra of those fruits and veggies by using superfood powder, so even if you have a picky eater you are still making sure they getting lots of fruits and veggies without a fight.
Because these gummies are made without any added sweeteners, I made them for my kids when we did the Whole30. They are not only Whole30 compliant, but they are also paleo, primal, clean, and really healthy. Sometimes we add a bit of honey, depending on the juice that we use and how sweet it is.
Recipe Notes for Homemade Gummies
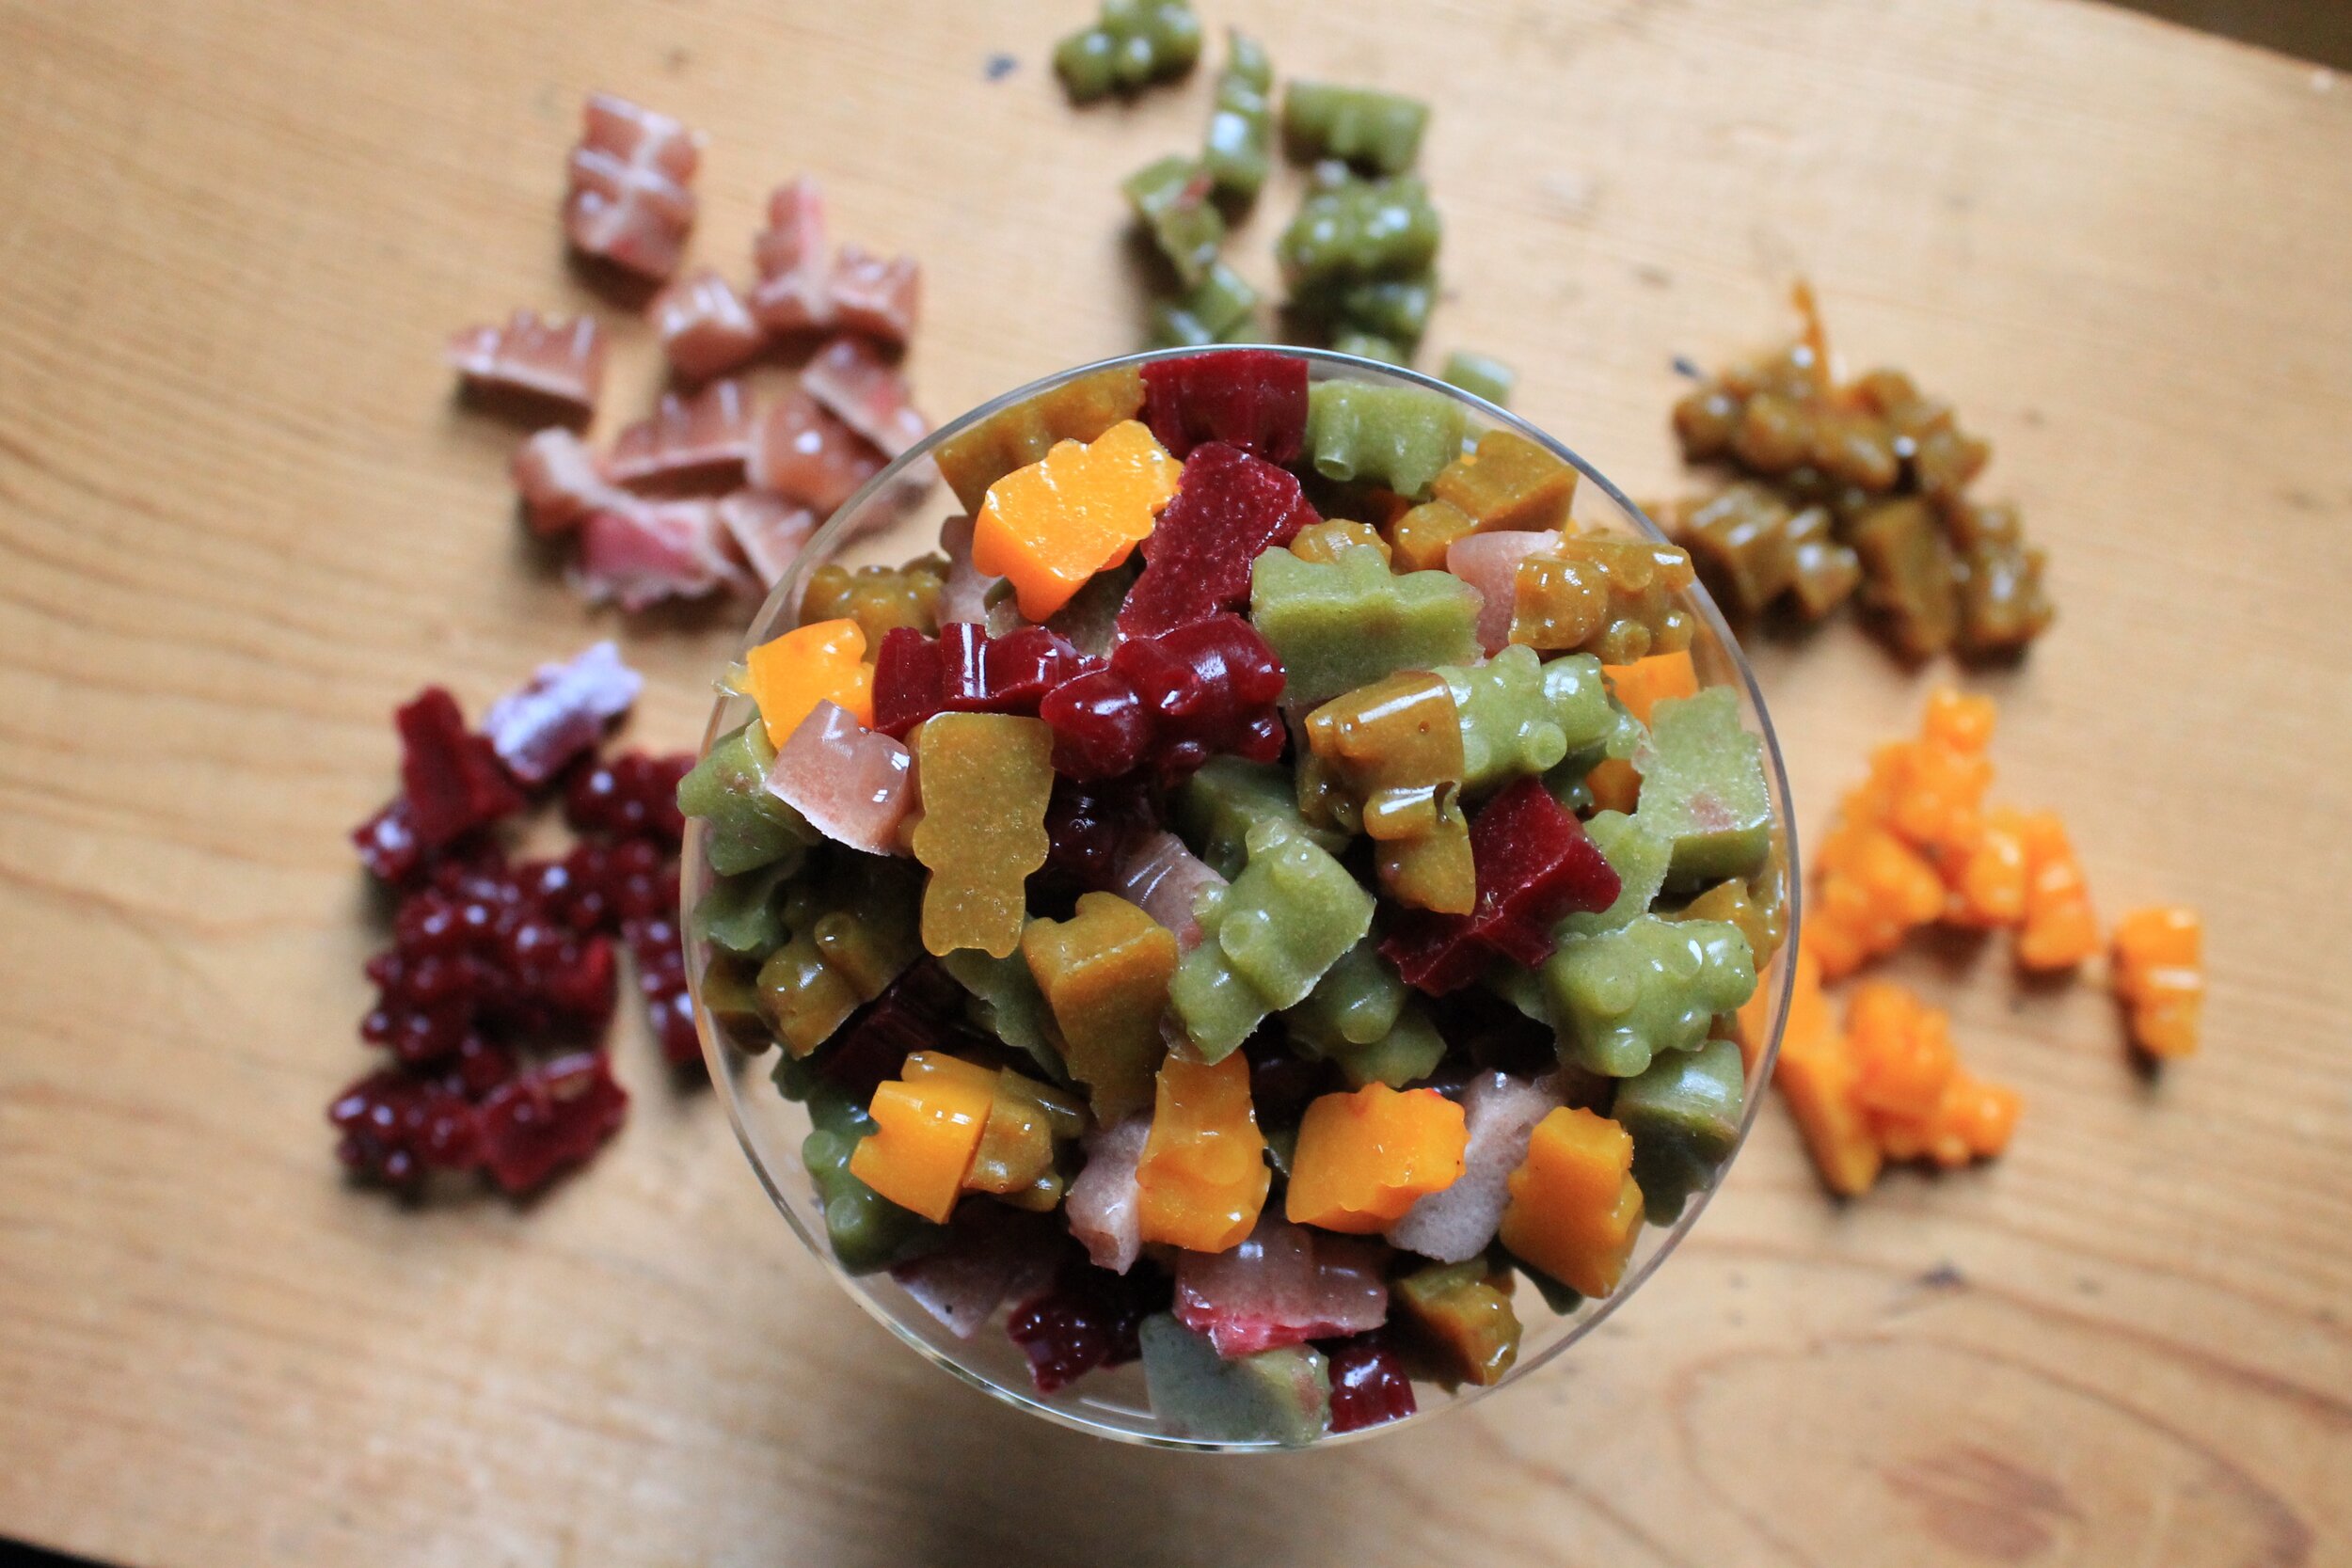
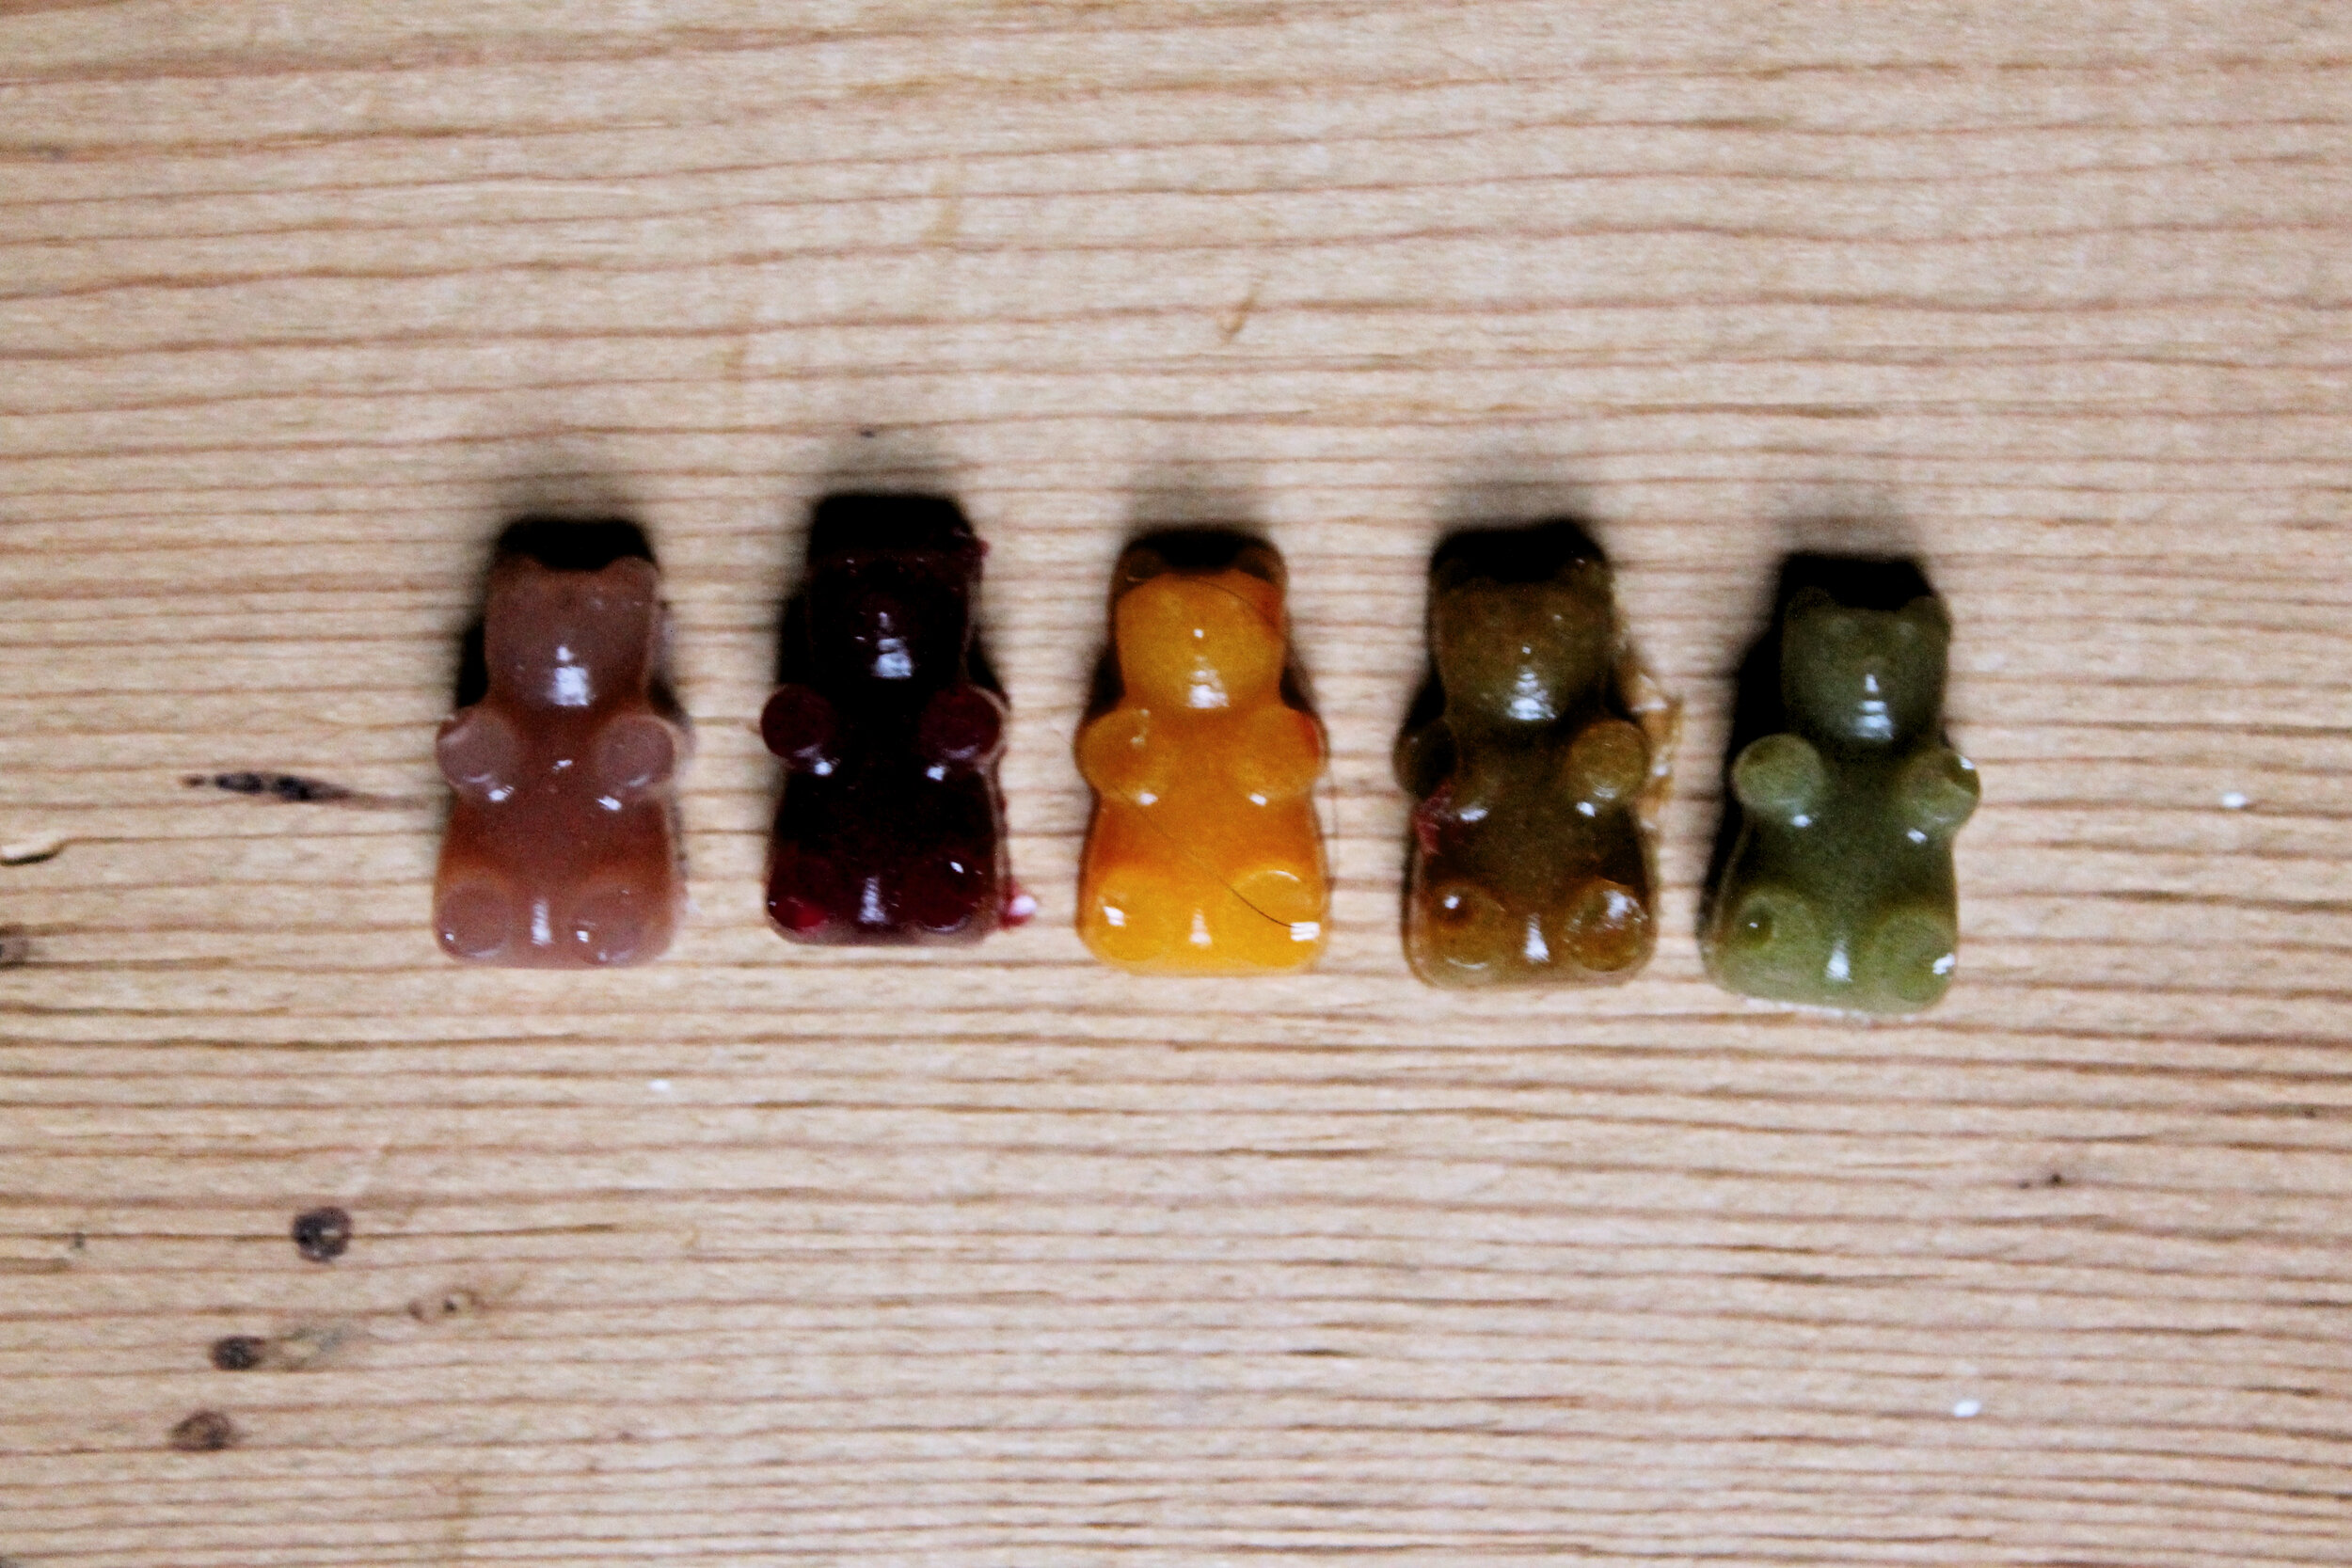
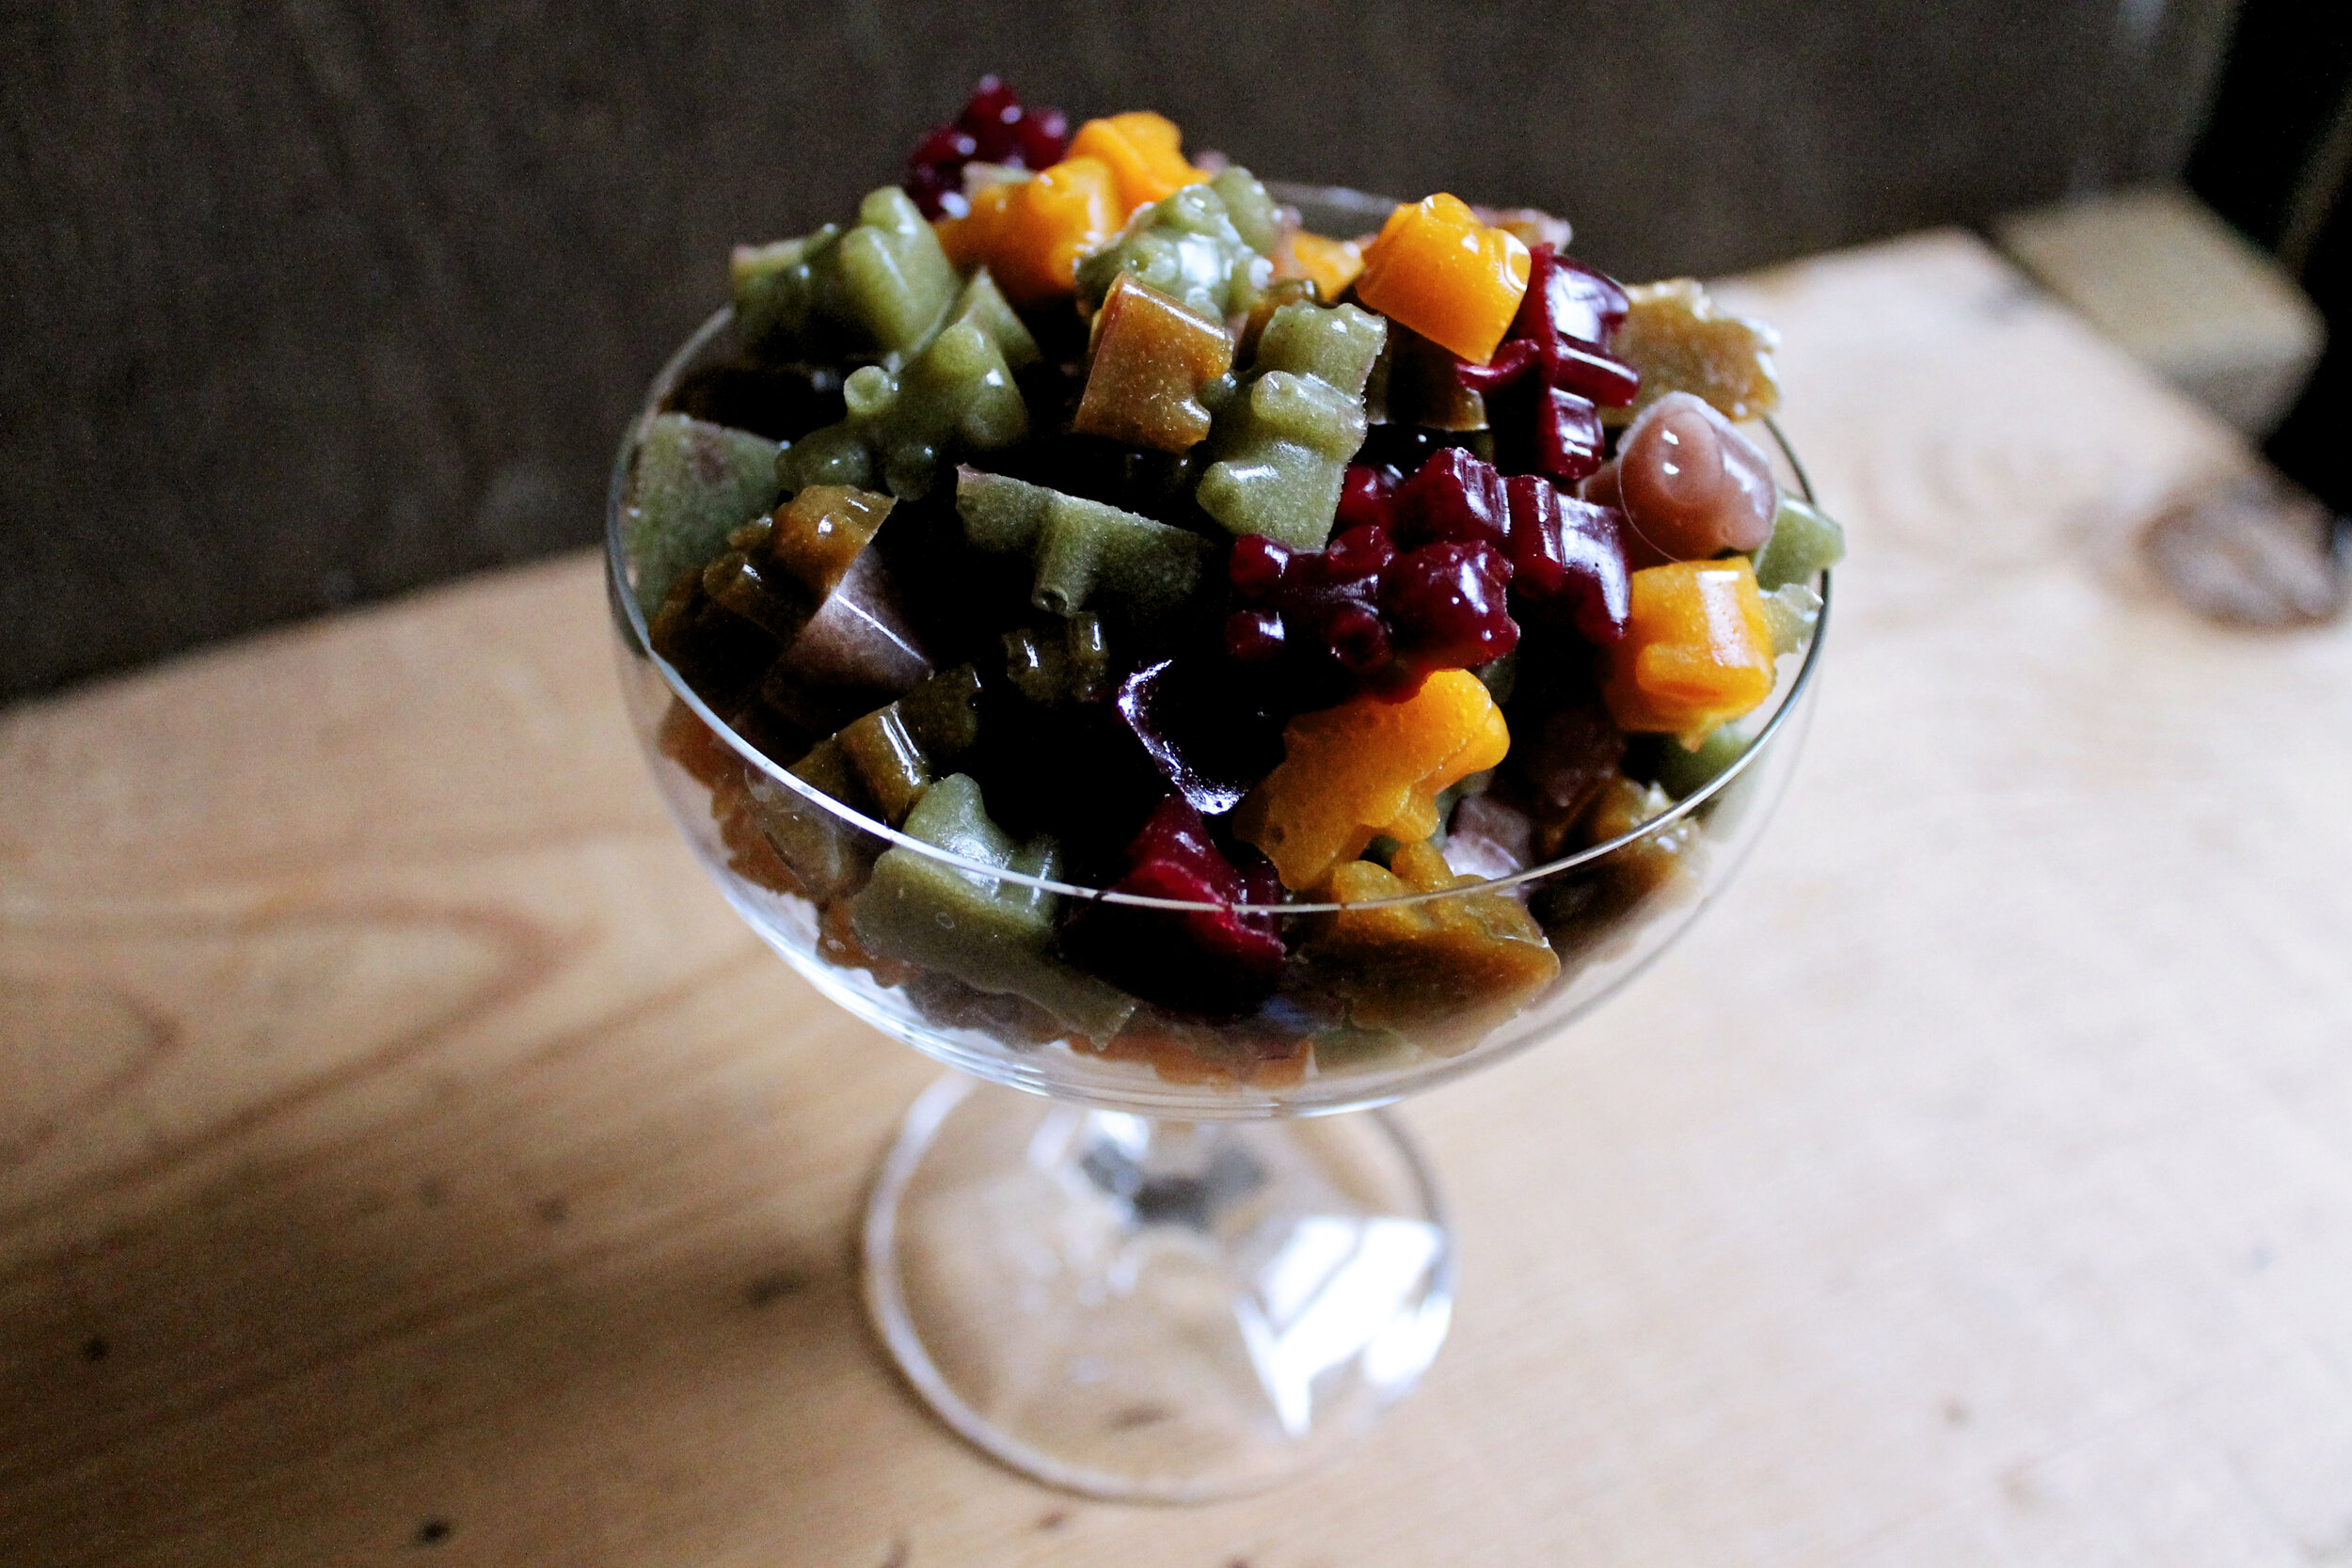
You can use pretty much any juice you like, other than pineapple. We have tried almost all of the Naked Juices and like most of them, but our favorite is the Mighty Mango or the Green Machine blends. If your juice isn’t sweet enough add a few tablespoons of honey. If you want a pink lemonade flavor, use a mixture of Honest Tea’s pink lemonade, fresh lemon juice, and a little honey. If you do this, make sure that the total amount of liquid (including the lemon juice) equals one cup. You can also make your own juice with fresh fruit or veggies.
You can use all verities of silicone molds. I have some from IKEA that are cheap and work great! I also have some gummy bear-shaped molds from Amazon, and they are great too. I have also used regular ice-cube molds, and a 8×8 glass baking dish lined with parchment paper (cut into shapes or squares after it sets). You don’t have to have anything fancy, but it can be fun to use fun molds.

Homemade Gummies
Ingredients
- Basic Recipe:
- 1 cup juice (don't use pineapple)
- 1/3 cup gelatin powder (grass-fed is best)
- Optional Add-Ins:
- 2-4 tablespoons honey (if your juice isn't very sweet)
- 1-2 tablespoons lemon juice (adjust other juice amount to still equal 1 cup total)
- 1-2 tablespoons collagen powder
- 1 teaspoon powdered fruits and veggies
- 1/2 teaspoon probiotics
- 1-2 tablespoon powdered vitamins
Instructions
- Pre-measure all ingredients and have them on hand and ready to go.
- Bloom the gelatin by mixing the gelatin with a little bit of the juice and letting it sit for a few minutes.
- Prepare silicone molds or an 8x8 glass baking dish. Place the molds on a cookie sheet for easy transport to the fridge. No need to grease the molds, if using a glass dish line it with parchment paper. Make sure there is enough room for the cookie sheet or baking dish in the fridge.
- Heat juice (and honey if using) in a small sauce pan over medium heat. Add gelatin bloom and use a whisk to mix. Continue cooking and stirring until the gelatin has completely dissolved. Working quickly, remove from heat and stir in add-ins. Pour into molds and transfer molds into the refrigerator or freezer. Refrigerate until set. Pop-out of molds and store in an air-tight container.